Home » Photo Gallery » Page 5
Click Images below for a more detailed view. Individual results may vary.
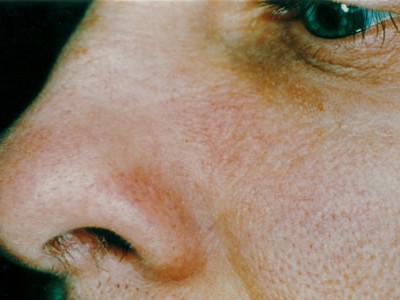
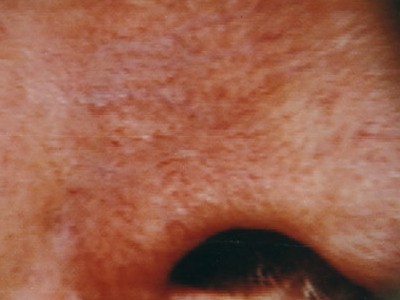
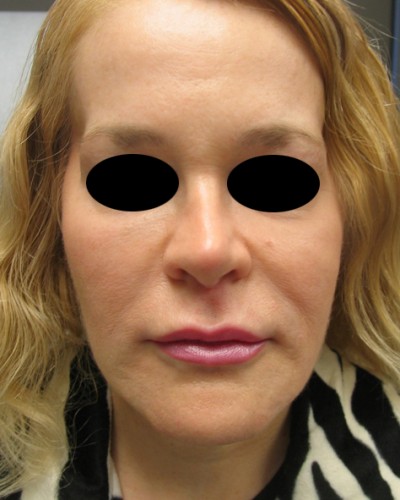
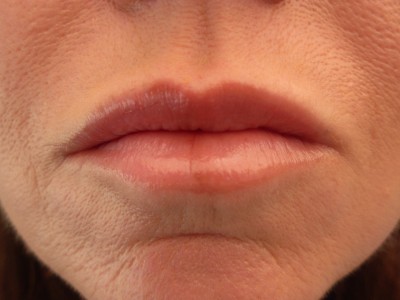
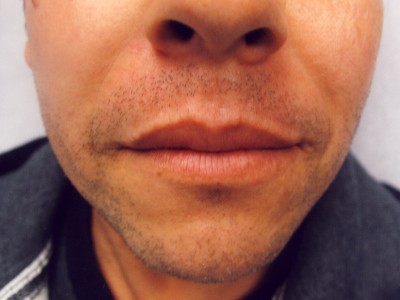
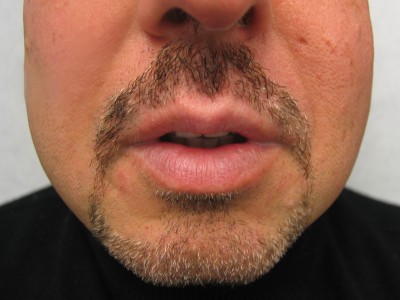
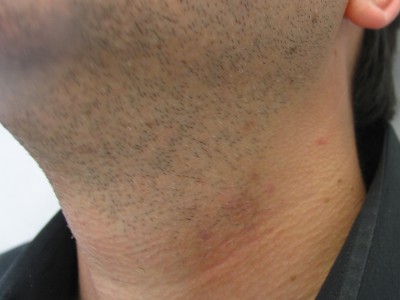
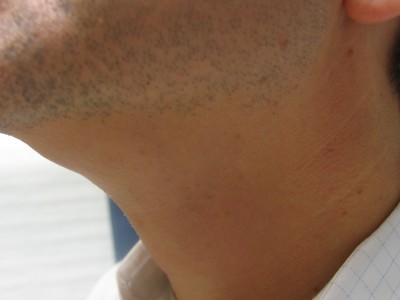
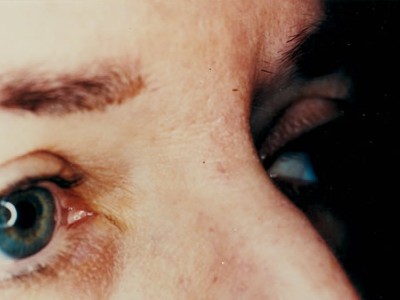
After photo taken after 2 years no treatment

 Same-day Appt
 212.962.1115